Going off the grid – a step-by-step guide
You need a clear plan to make sure this home investment is done right first time.
If you’re planning to get your house off the grid by installing a solar-power system, then it helps to have a plan. Not only will this project be a substantial investment in your home, but it’s also critical infrastructure that you and your family will rely on for years to come. It’s important to make sure you do it right.
Here’s a step-by-step guide to finding the right solar system for your home with the least fuss.
Step 1: Figure out what you need
Choosing the type of solar installation that’s going to work best in your home starts with looking at your needs. This is as much about how much electricity you use, as it is about what you use it for.
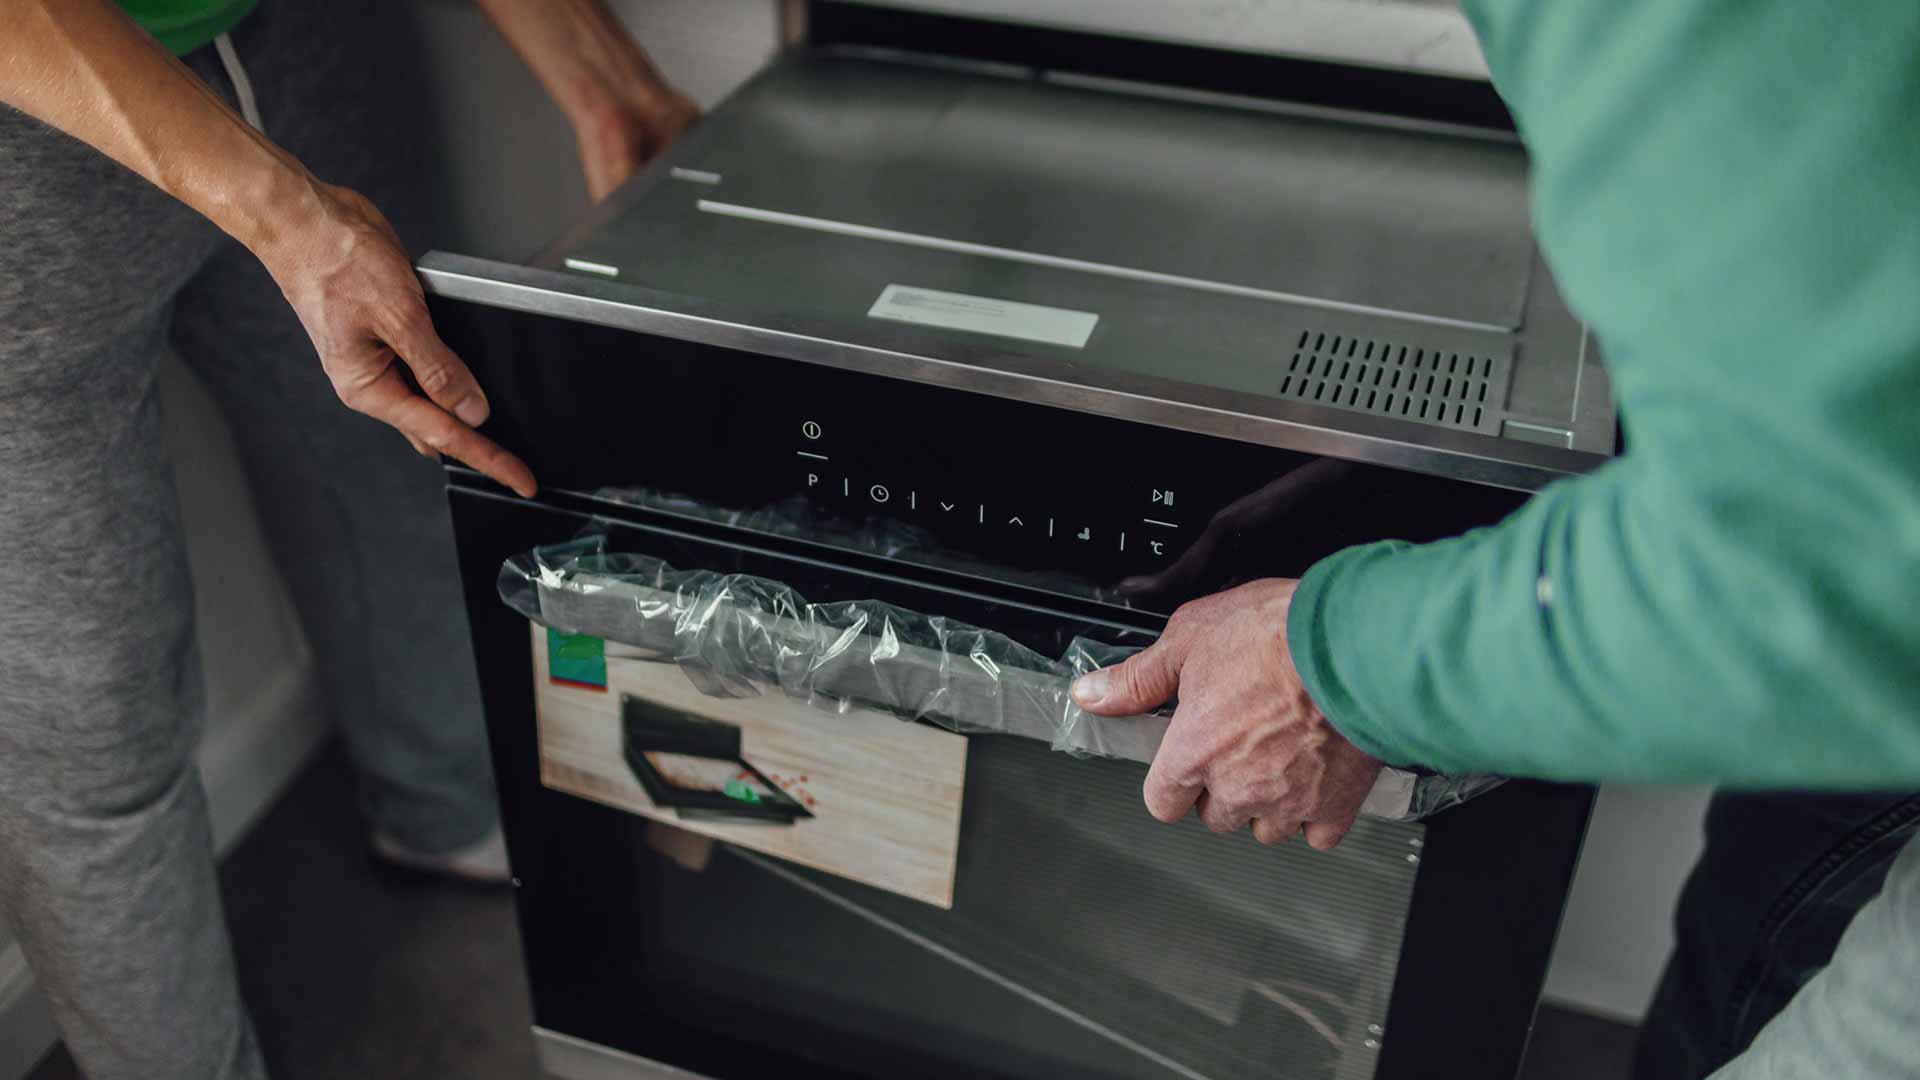
It makes sense, for example, to replace energy-hungry appliances like your geyser, and possibly even your stove, with solar or alternative energy options. This way, you can lighten the load that your solar system needs to carry, meaning you can get away with a smaller and more cost-effective system.
The simplest way to understand how much power you use every month is to look at your electricity bill. This will show you how many kWh you use every month, which you can then divide by 30 to get your daily average usage. Armed with this number, you’ll have a good idea of how much electricity your solar system must produce every day to power your home.
Step 2: Find a solar expert
It helps to get the experts in early to avoid any miscalculations or potential problems.
Nedbank has partnered with approved service providers to help guide clients who want to go solar. This is a one-stop service that helps to evaluate your needs, propose an appropriate solution and manage the installation.
Other suppliers will also be able to help you at this early stage of your project to understand your best options. This guidance is helpful in deciding what type of system you want – grid-tied, hybrid or off-grid. The biggest deciding factor could end up being cost, as these 3 options are listed from cheapest to most expensive.
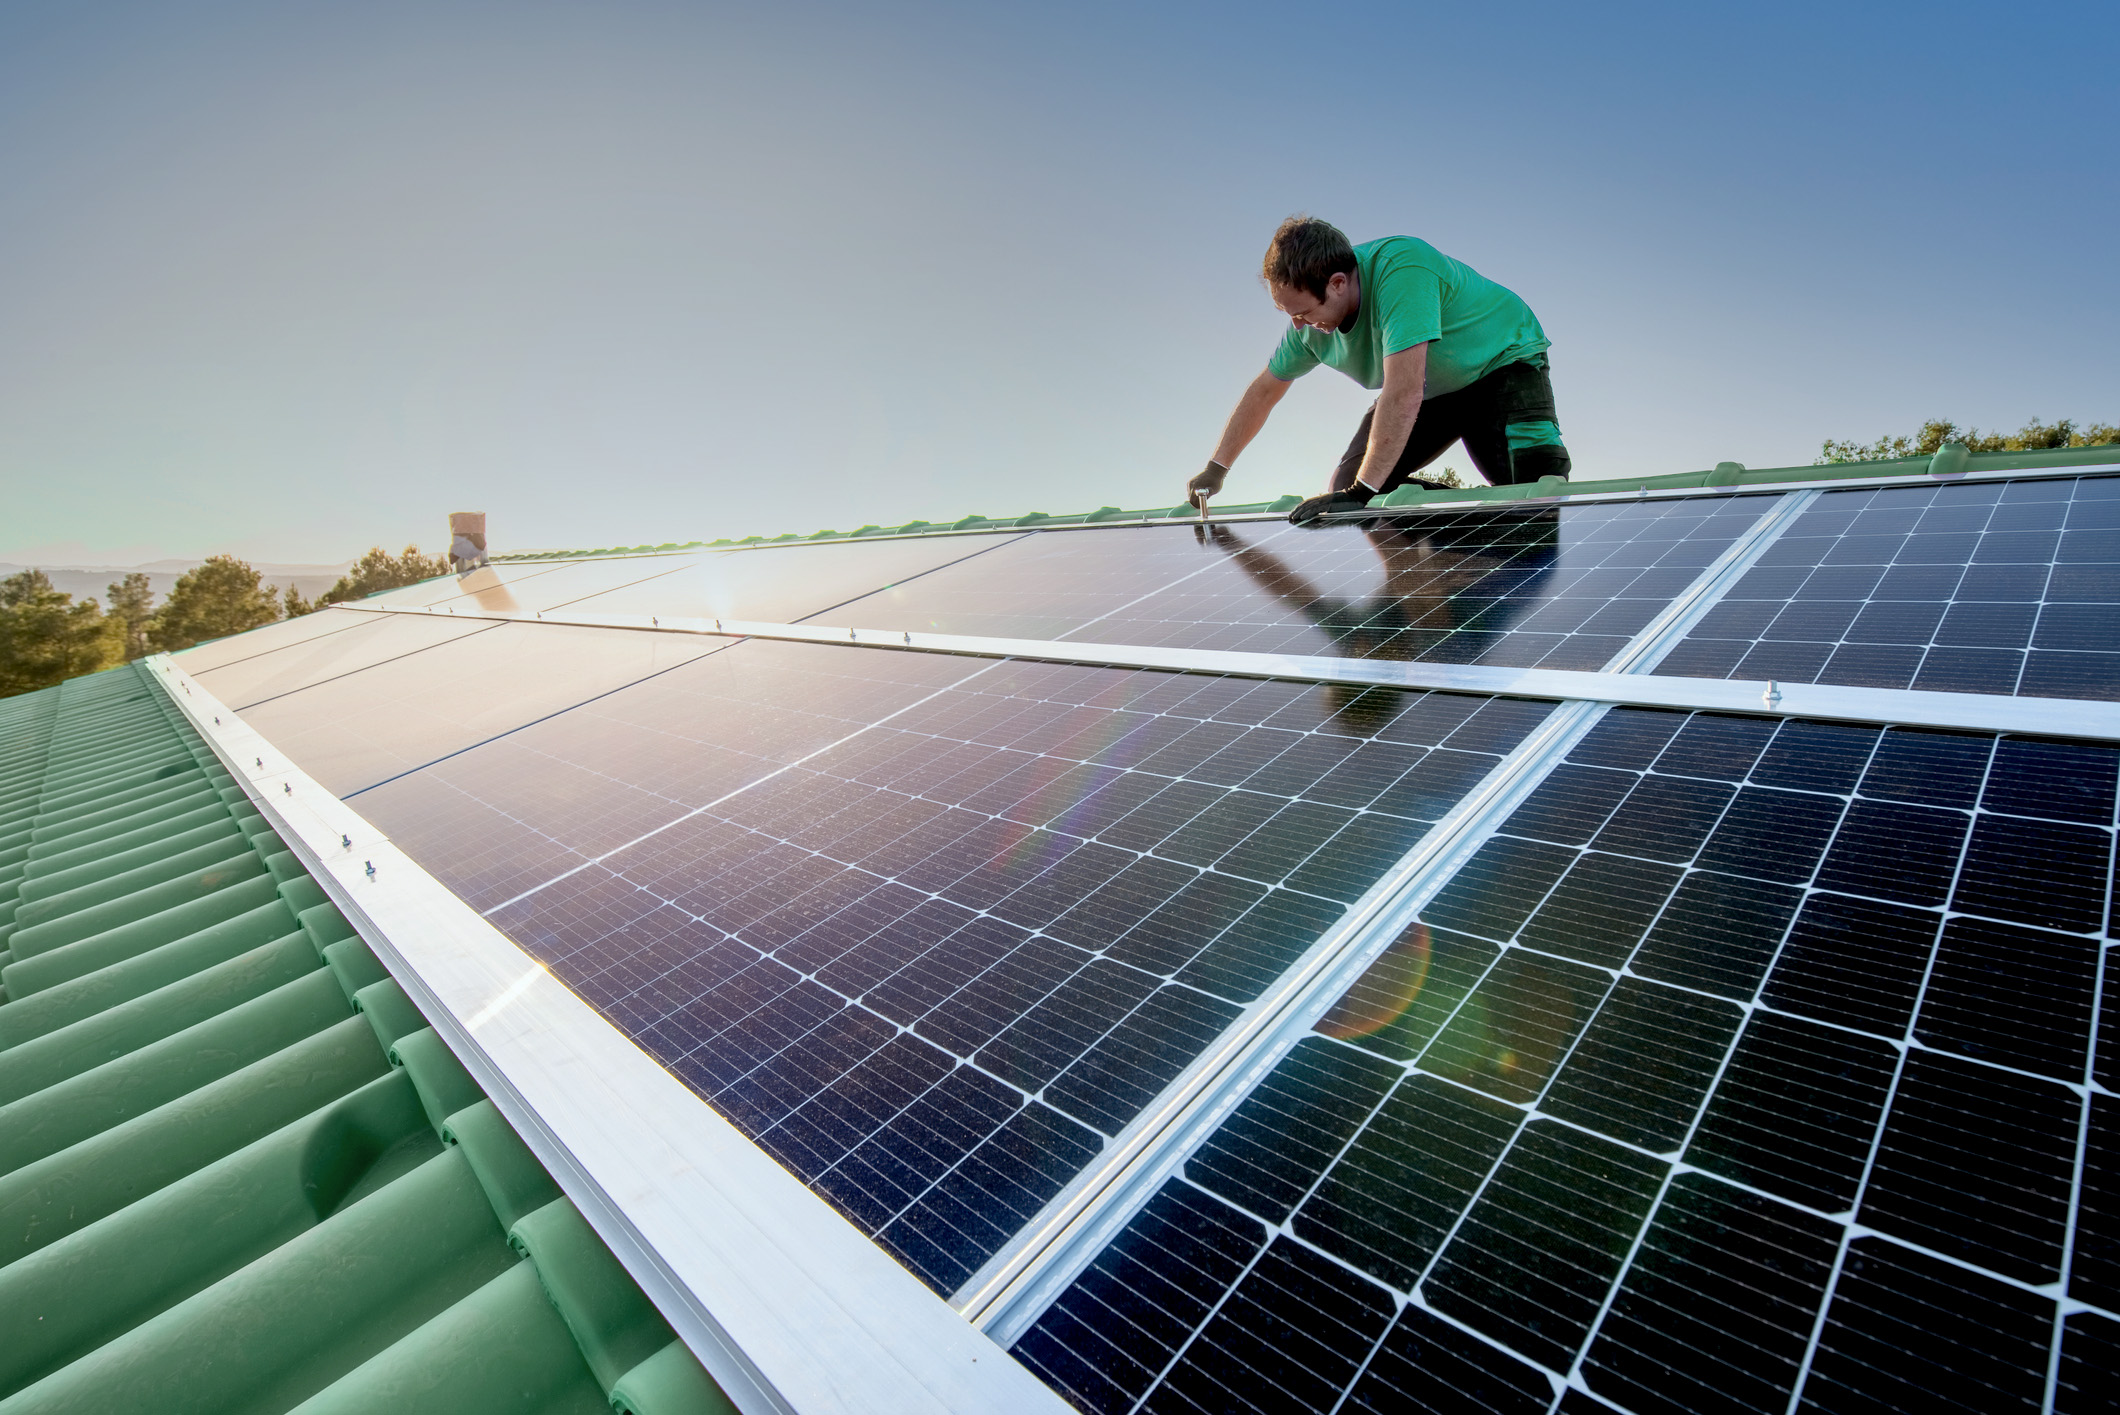
Step 3: Calculate your capacity
The solar expert should be able to tell you how much energy you could produce based on your location, your roof size and any obstructions like nearby trees or buildings. You can obviously produce more energy by installing more solar panels, but you might be limited by how much space you have available. Also, your choice of inverter could limit how much power – in other words, how many solar panels – it can handle.
The final step is to have your system is registered with your local council
At the very least, your system needs to produce enough power to cover your daily energy usage, including enough to fully charge your batteries to power your home at night. As you can imagine, it’s important to size your system correctly.
Step 4: Decide on system type and size
Armed with enough information, you can now make an informed decision on what type of system is best for your home. The components that need to work together to power your home include the solar panels to generate the electricity, the inverter to convert and control the electricity supply, and the batteries to store power for use at night.
It’s difficult to identify the best brands, but it won’t hurt to do some of your own research around the system and components suggested by your energy consultant. Even though they are the experts, be sure to question them if you feel their suggestions don’t make sense.
Step 5: Consider your financing options
Chances are that you won’t be able to pay for your solar system in cash. A solar conversion can cost tens or even hundreds of thousands of rands – it’s the perfect example of when it makes sense to use credit to improve your life. One of the most cost-effective ways to take on this debt is to explore your solar financing options. If you’re a Nedbank client, then you can choose from NedRevolve, Readvance through your home loan, or choose our asset financing option.
The lower interest rate and the longer time frame (compared to a personal loan) means it’s easier to absorb this additional monthly cost. The lower cost also makes it easier to recoup your investment, because at least part of this additional cost will be offset by your lower electricity bill.
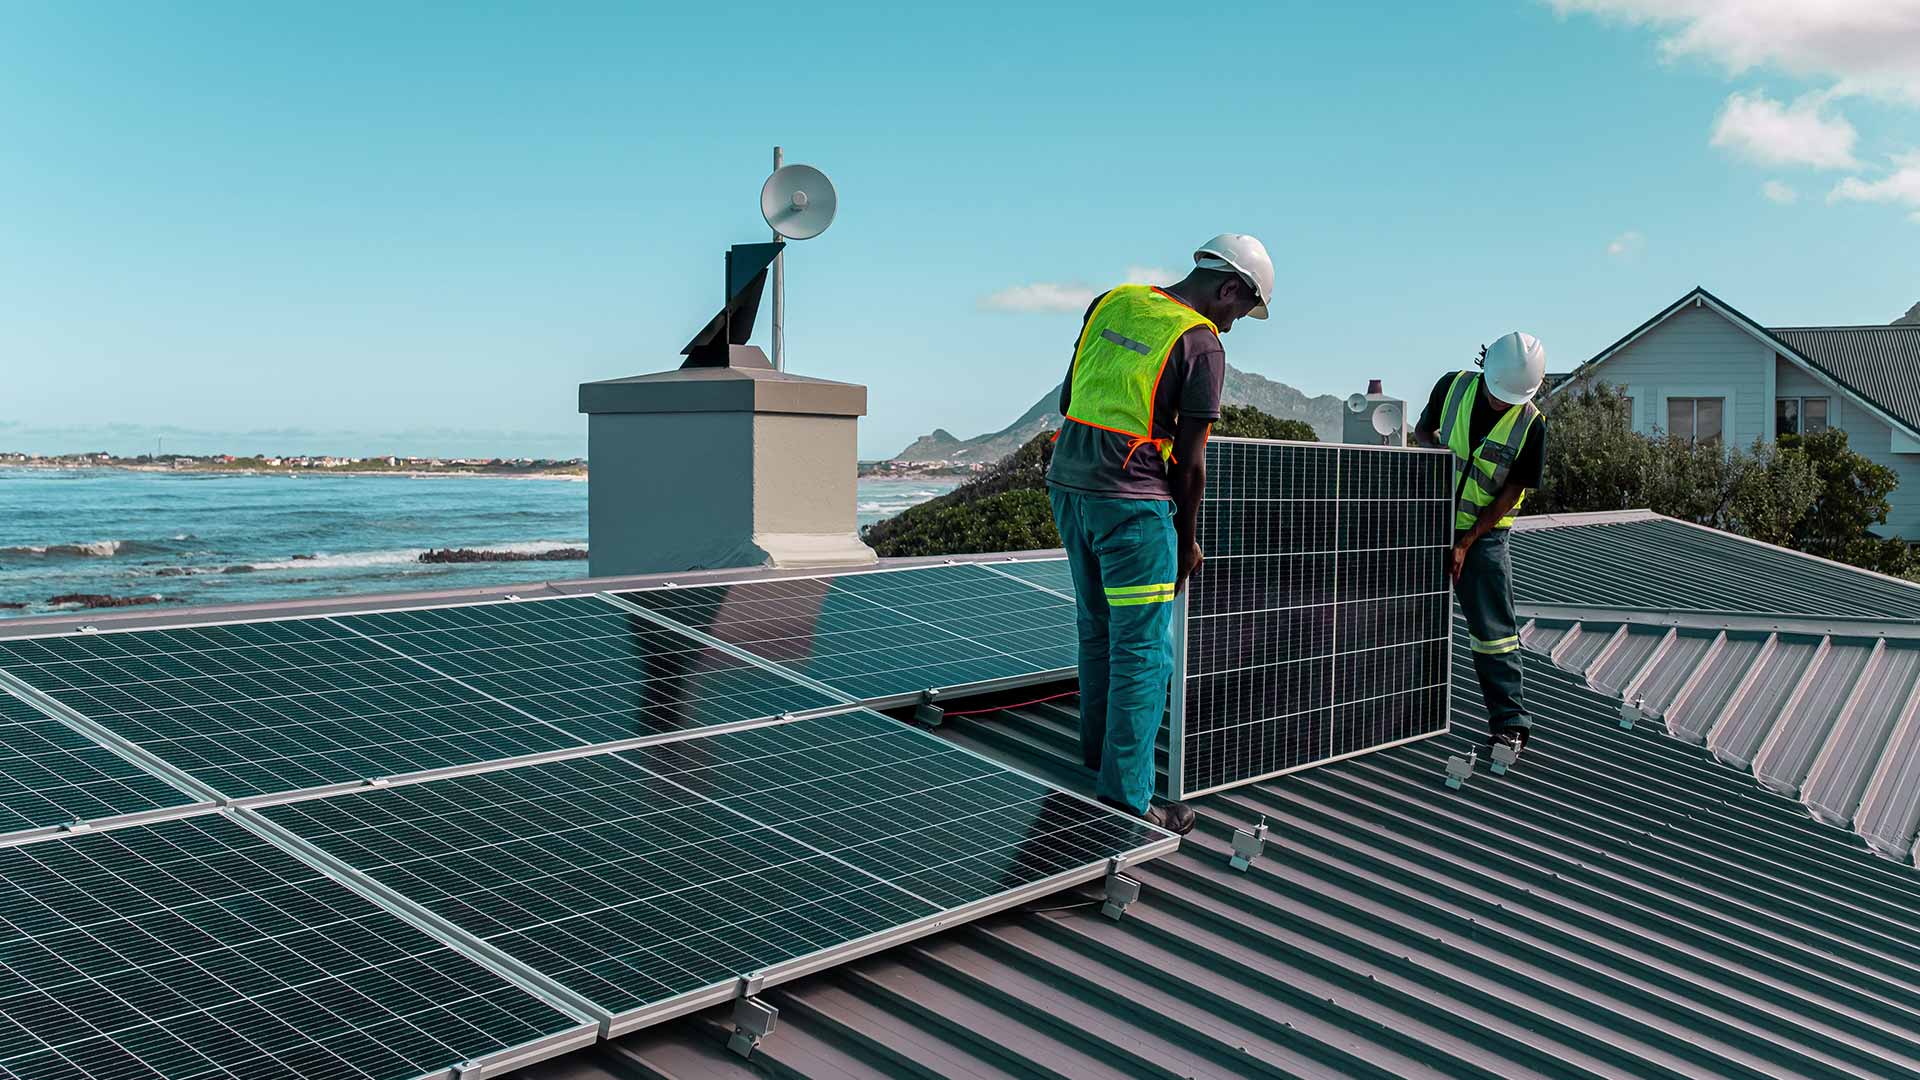
Step 6: Get the installer in
Once your financing is sorted out, you can finally go ahead with your installation.
You might decide to use the same person or company that helped you with your planning, or a contractor who works independently from your solar consultant.
If you choose to partner with one of our approved service providers, they will manage the entire process for you from calculating what size system you need, to helping to coordinate the installation.
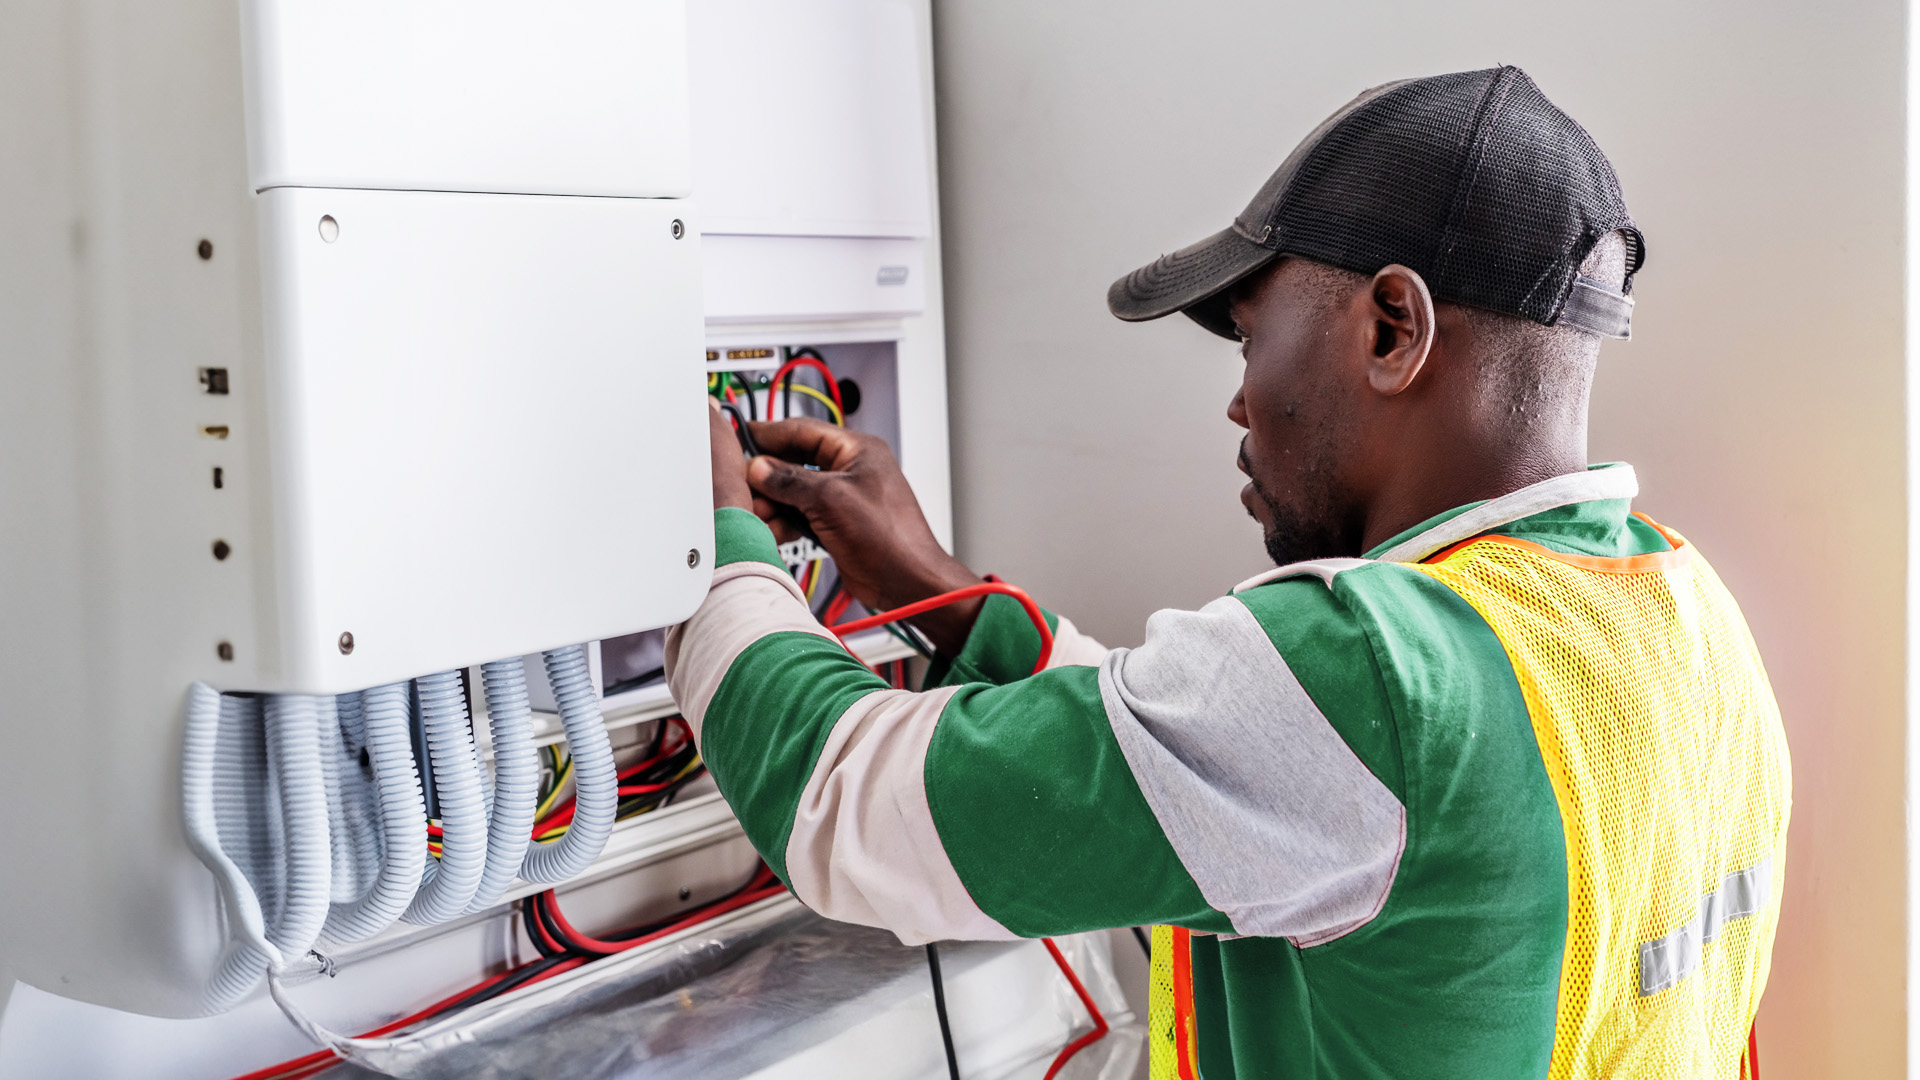
Make sure that your installer inspects your roof to ensure that it is structurally suited to installing the panels and their frames. Some degree of electrical work will also have to be done to integrate the power coming from the inverter and batteries into your home’s supply. Which leads us to one of the most important steps in your home solar installation – the electrical certificate of compliance. This document is your guarantee that the work has been done to the necessary standards. It will be required by your local council and your home insurance provider.
The final step is to have your system is registered with your local council. This is a legal requirement that should form part of the service you receive from your installer.
Disclaimer
Please note that all costs and financing options quoted in this blog were correct at the time of publication, but are subject to change without notice. Although we update the blogs regularly to keep the information up to date, clients are advised to check current costs and finance options with service providers before making any commitment to solar installation.